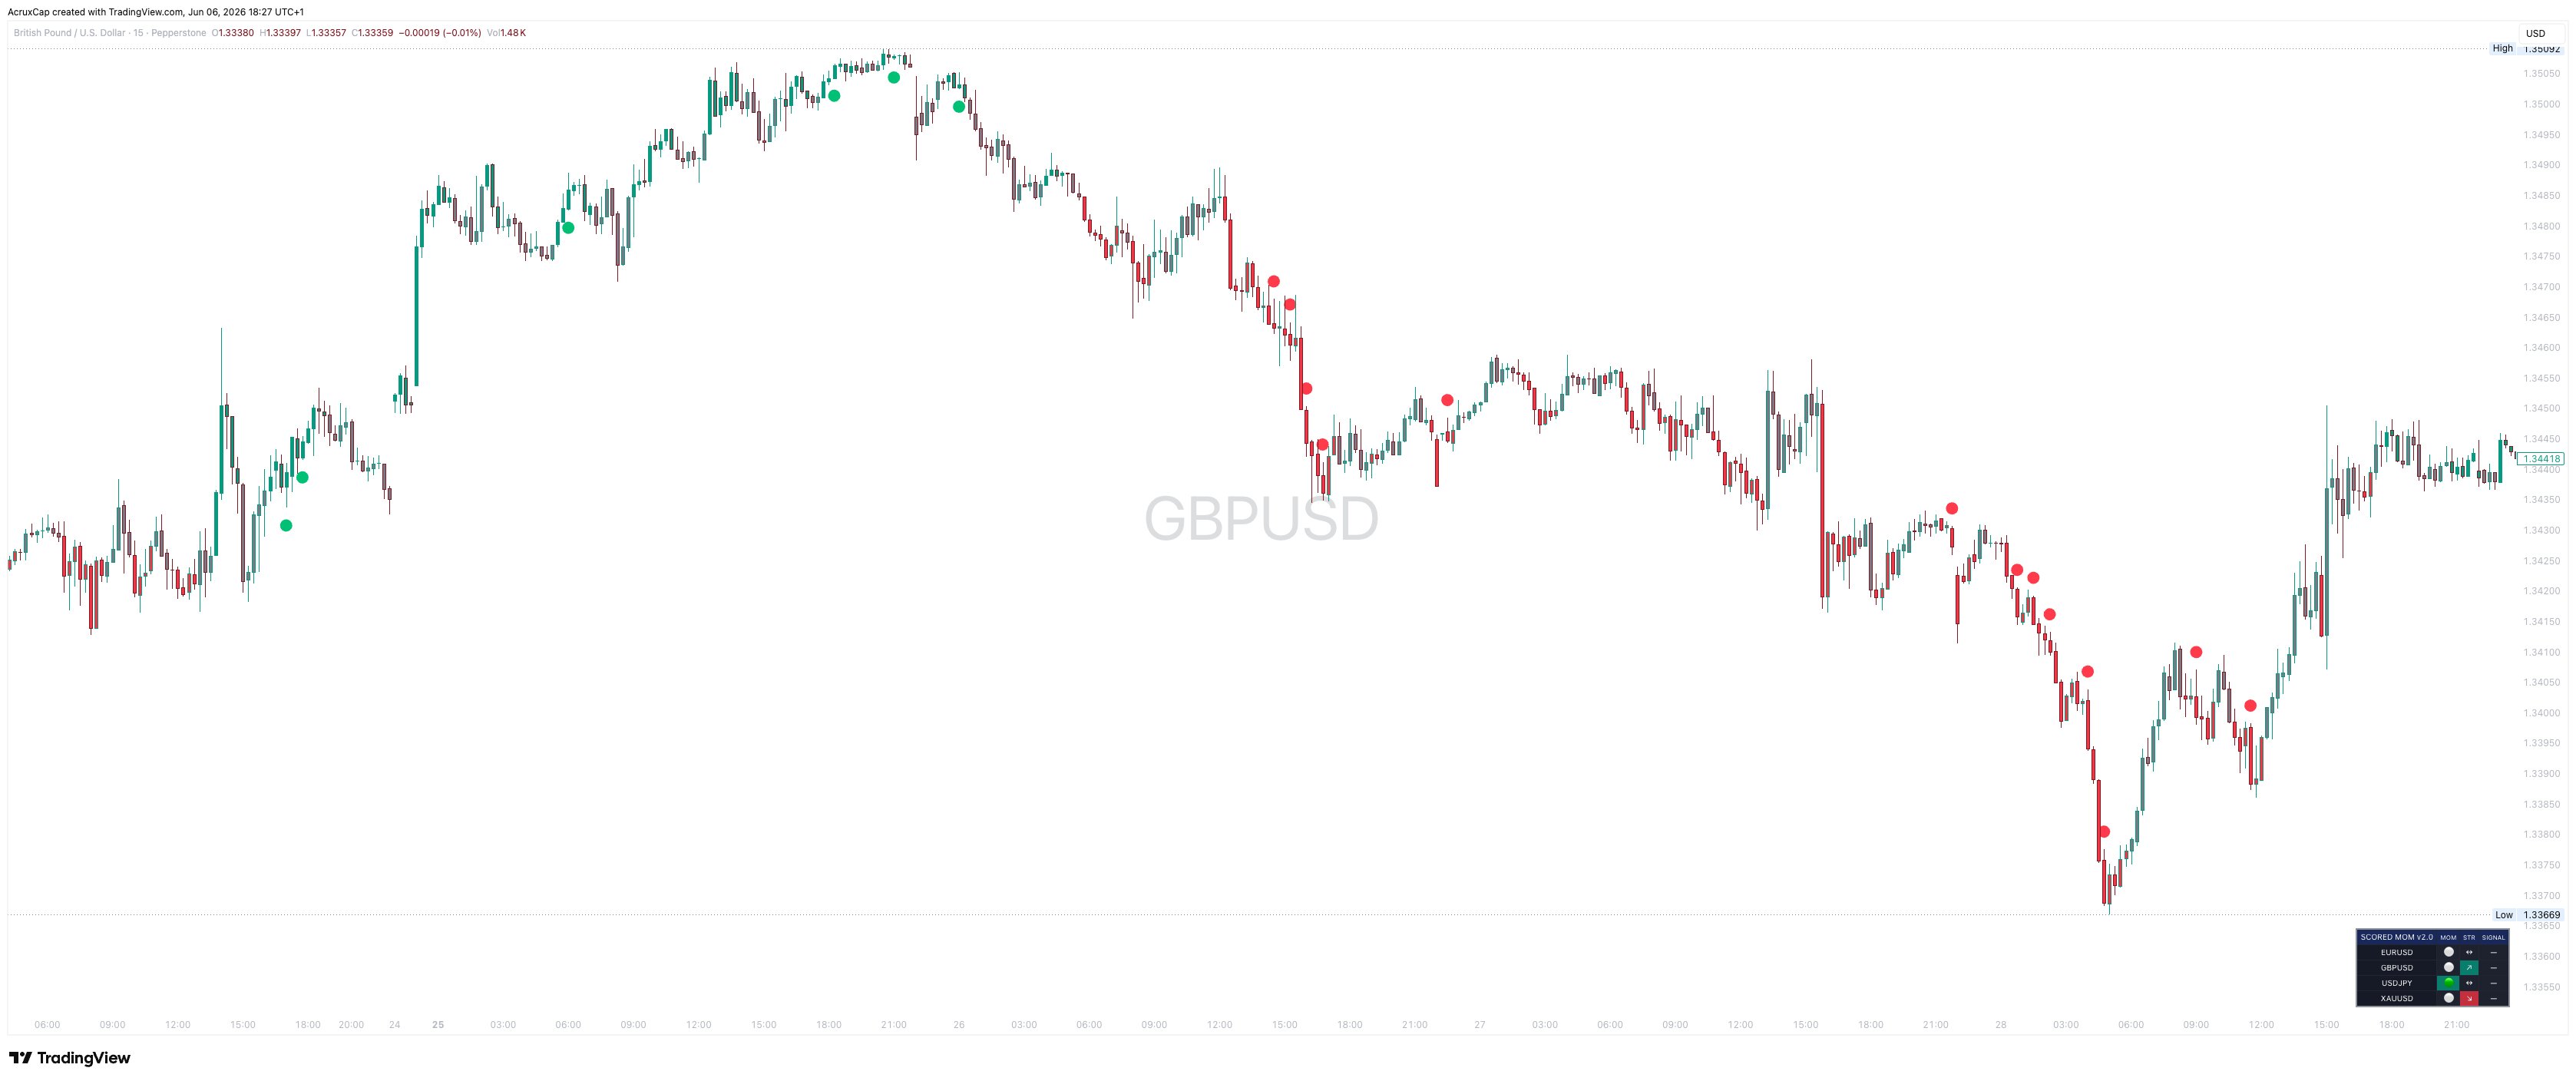
Scored Momentum Signals waits for a trend to establish, watches for price to retrace to the Hull MA, and fires on the resumption candle in the trend direction. Every signal is scored 3 to 5 based on how many confluence layers are present.
Every signal passes through four independent validation layers before it appears on the chart. A single layer failing means no signal fires — this is what separates it from indicators that fire on momentum alone.
The model is continuation-pullback: the bias tells you the direction, the entry comes when price dips to the Hull MA and reclaims it in the trend direction.
Dual-timeframe Hull Moving Averages define the directional bias. A fast HMA (14-period) on the chart timeframe and a slow HMA (14-period) on the higher timeframe (default 4H) must agree. The bias must persist for a minimum number of bars before any entry is considered.
Swing pivot detection classifies the market into bullish structure (higher highs, higher lows), bearish structure (lower highs, lower lows), or neutral. A bullish signal requires bullish structure. If structure contradicts momentum, no signal fires.
The trigger. Within the last N bars, price must have retraced to the fast HMA. The current bar must then close back across the HMA in the bias direction with a directional candle — the classic continuation entry mechanised.
Every qualifying signal receives a base score of 3. Institutional displacement (strong candle body exceeding ATR) adds a point. A liquidity sweep before the resumption adds another — producing the highest-conviction score 5 setup.
Bullish signals (green dots) fire during the rally, bearish signals (red dots) fire on the reversal. The 4-pair scanner dashboard sits in the bottom-right corner. Bar colouring shows the bias state.
Dots are sized by score — small for 3, normal for 4, large for 5. Score 5 also receives a gold conviction marker. You see the quality before you see the price.
Momentum bias established and persistent. Structure agrees. Pullback to the HMA occurred. Current bar is a resumption candle in the bias direction. The minimum quality threshold.
The resumption candle itself qualifies as institutional displacement — candle body exceeds 1.5× ATR with a body-to-range ratio above 0.6. Strong participation on the resumption, not just a passive drift.
Within 20 bars, a prior pivot was taken out and reclaimed — liquidity grabbed below a structural level before the trend resumed. Combined with displacement: a sweep-and-go continuation. Rare by design.
Four additional symbols monitored via security calls, each evaluating the full logic independently. Dashboard shows momentum, structure, and signal status at a glance.
Momentum direction, structure state, and signal status for the chart symbol and all four scanner pairs. MOM, STR, SIGNAL columns — everything in one glance.
Candles coloured by momentum direction: green when both HMAs agree bullish, red when bearish, grey when they disagree. Monochrome mode available. Shows bias state, not entry trigger.
Counter-trend signals near trailing swings are suppressed. Continuation entries pass through. Prevents longs into resistance and shorts into support when structural evidence is absent.
Configurable cooldown (default 3 bars) prevents signal clustering when multiple pullback-resumption sequences chain together within the same bias.
HMA lengths, slow timeframe, structure lookback, displacement threshold, sweep window, bias persistence bars, cooldown, dashboard position, dot minimum score, scanner symbols.
Structured alerts with direction, ticker, and score — ready for Discord, Telegram, or webhook automation.
No. All conditions evaluate on the confirmed bar close. The bias persistence streak uses confirmed bars only. Pivot detection requires lookback confirmation on both sides. No future data is used — all request.security() calls use lookahead=off.
Optimised for 1H charts with 4H as the slow timeframe. For scalping, reduce to 15m chart with 1H slow timeframe. For swing trading, use 4H chart with Daily slow — adjust bias persistence bars upward (5–8) to filter noise on higher timeframes.
Any liquid instrument. Default scanner pairs are set for forex (EUR/USD, GBP/USD, USD/JPY, XAU/USD) but all four can be swapped to crypto, indices, or equities via input settings.
Score 3 is the base setup — all four layers aligned. Score 4 adds institutional displacement (strong resumption candle). Score 5 adds a liquidity sweep before the resumption. Higher scores mean more confluence layers confirming the entry.
Most momentum indicators signal on every direction change. Scored Momentum Signals adds a structure filter (must be trending), a pullback requirement (must retrace first), and displacement and sweep quality gates. Only continuation setups with structural confirmation produce a dot.
They are fully independent — no dependency on each other. Scored Momentum Signals focuses on Hull MA pullback continuation. Scored SMC Structure Overlay maps order blocks, FVGs, and CHoCH. They complement without overlapping.
Scored Momentum Signals is available for $2.99/month on TradingView.
Trading involves significant risk. Past performance does not guarantee future results.